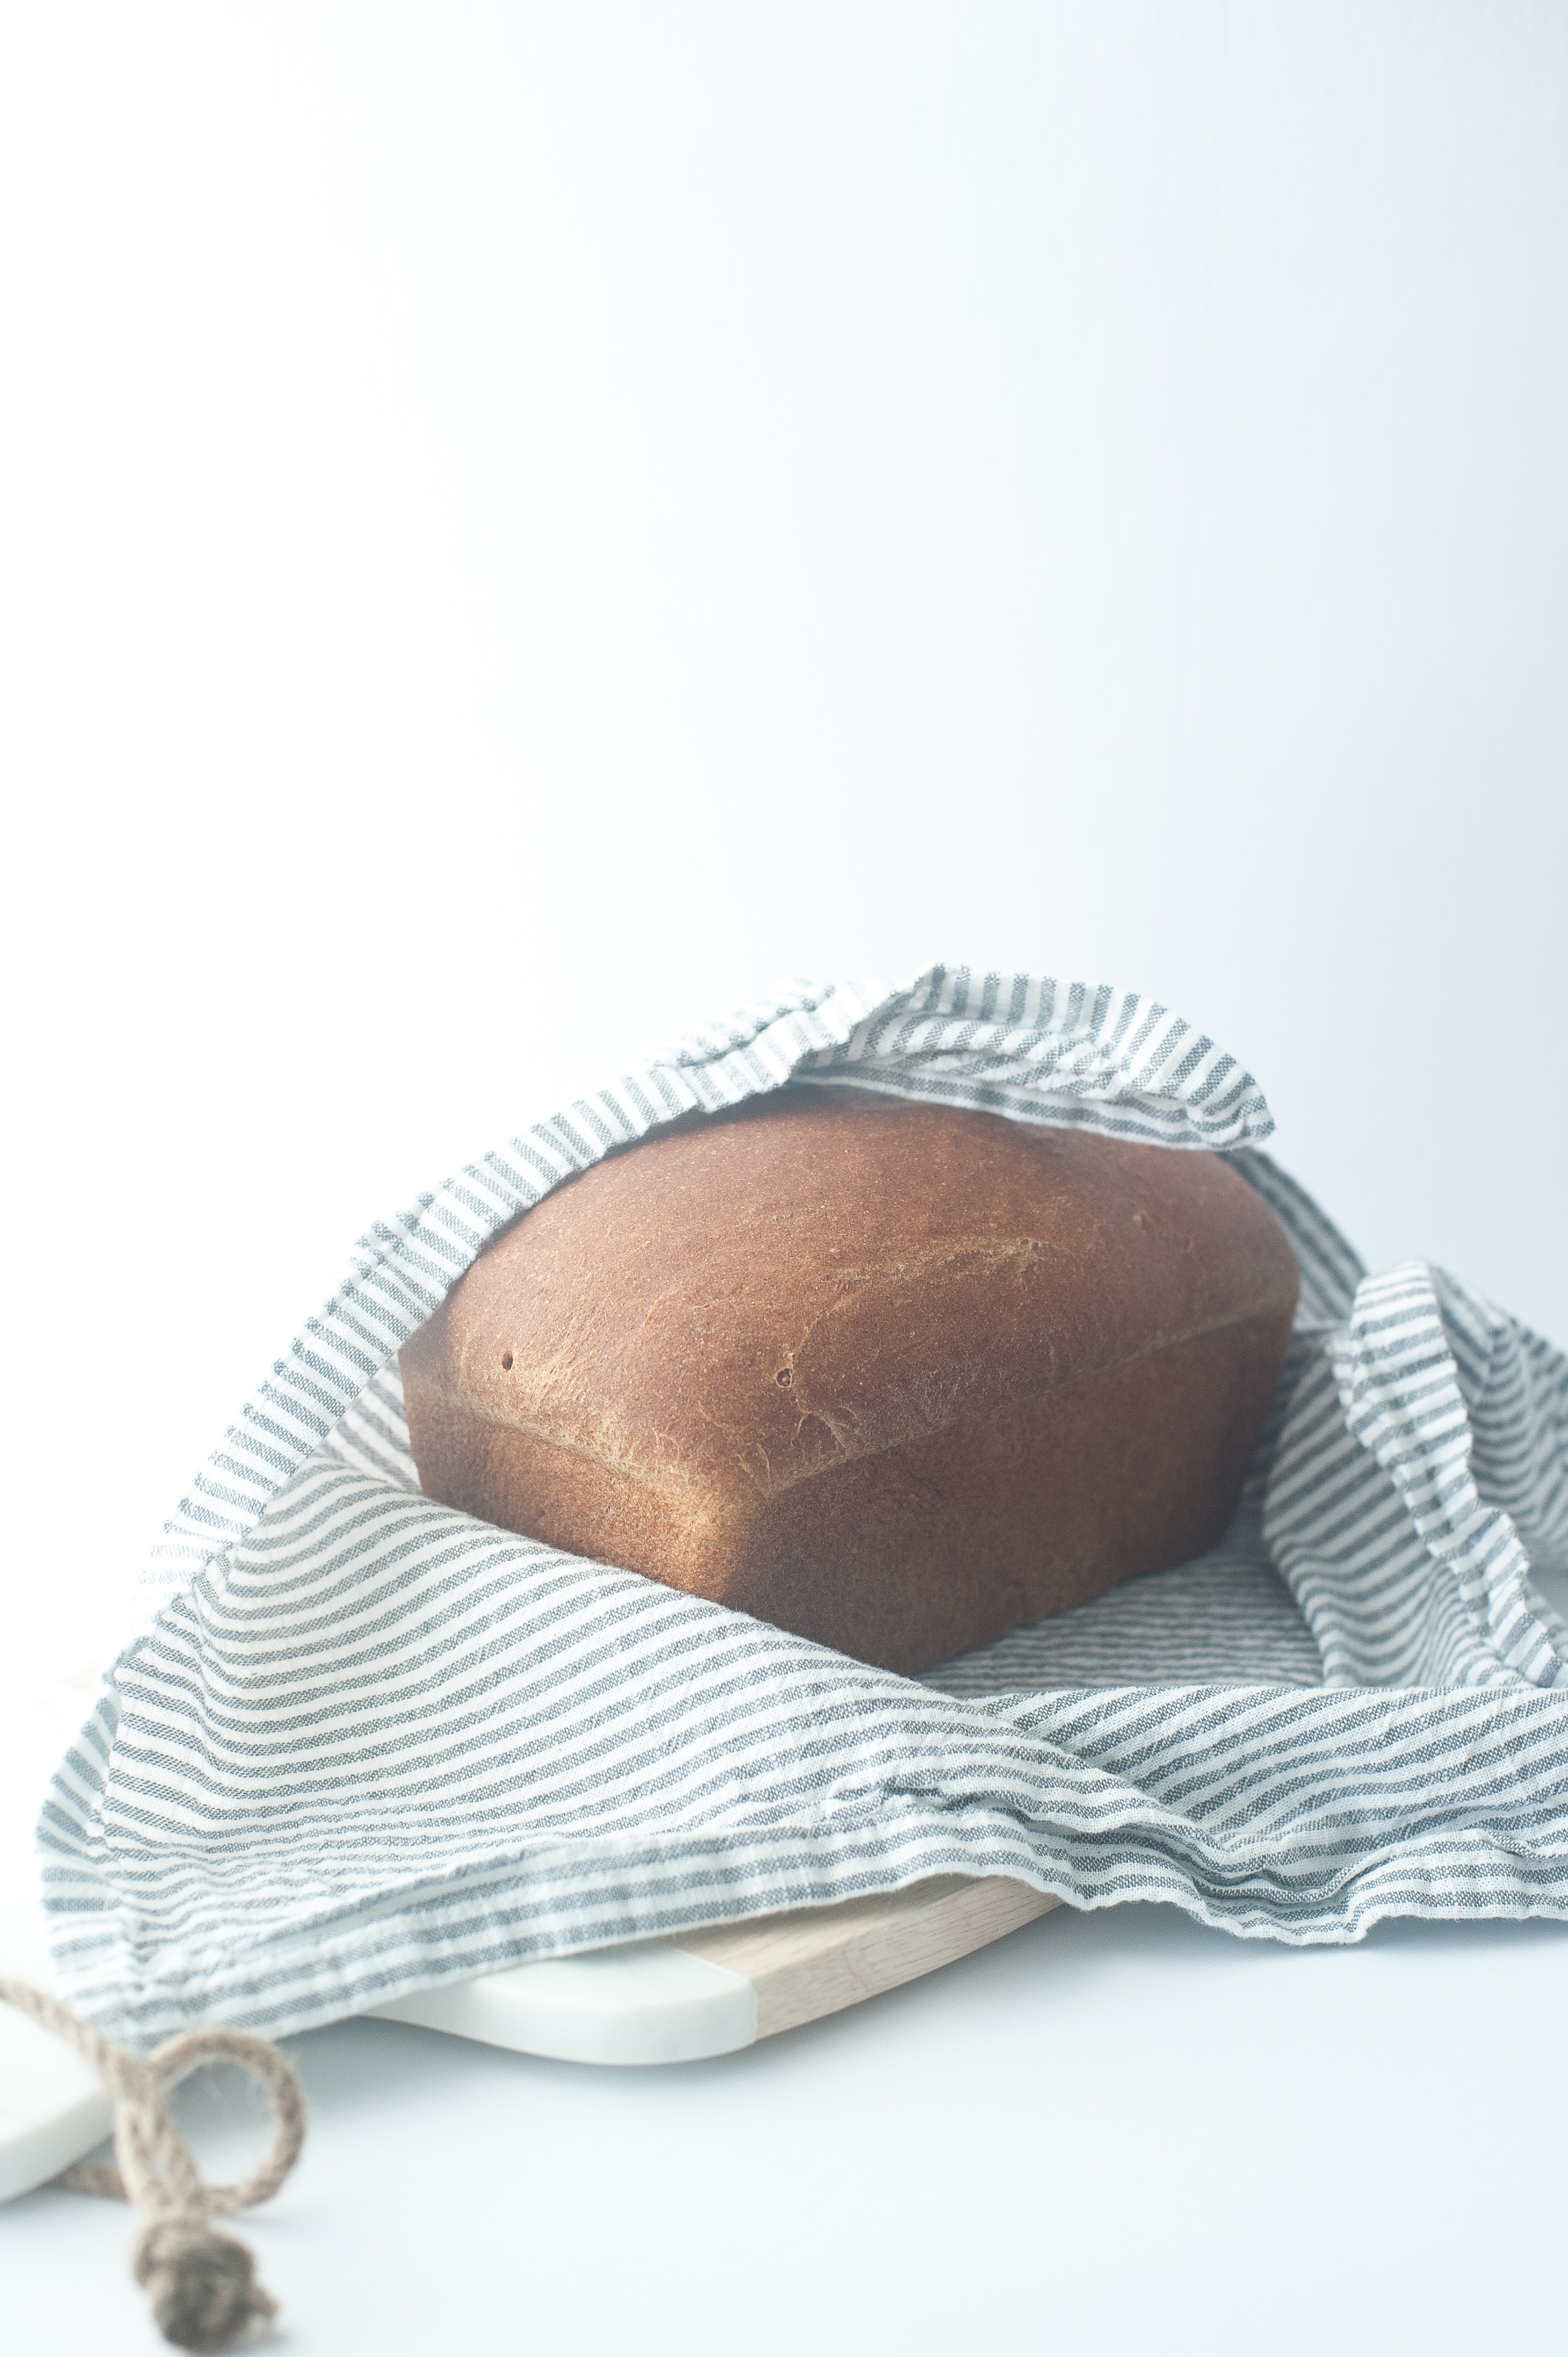
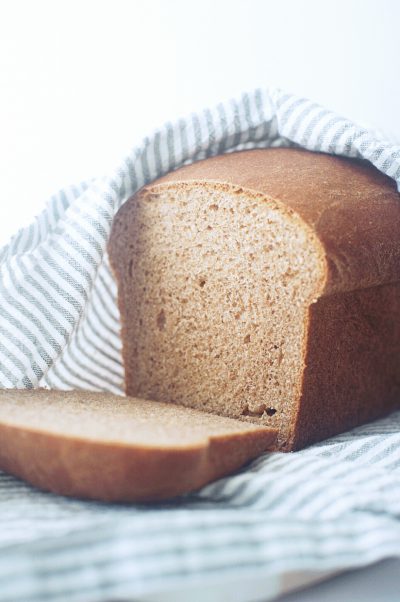
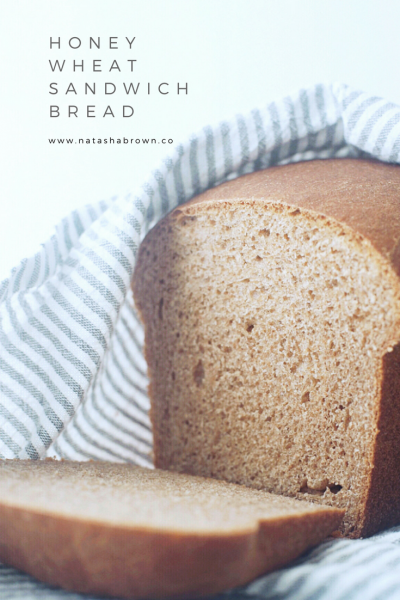
Honey Wheat Sandwich Bread {vegan option available}
I used to be SO scared of yeast. Anything that required me to babysit it and help it grow was a no-go for me. I kill succulents. Brewing my own
kombucha grosses me out. Bread was never gonna happen for me.
But The Great British Bake Off made me change my mind. I decided that though I might fail miserable, I still wanted to try. I liked the challenge. I
remembered going to Hong Kong bakeries after school to select my baked good of choice, and I hoped that if I could learn how to bake, maybe I could
provide a similar experience for my kids.
I can now say that making sandwich bread is now in my repertoire. Even though I’m not eating gluten right now, I LOVE making this bread for others to
enjoy. My first attempt failed miserably with my dough not rising at all, so if that’s your experience – don’t give up! Try and try again. Troubleshoot.
That’s how I learned.
RECIPE (adapted from The Bread Believer):
1.5 cups water, room temperature
2.25 tsp (or 1 packet) instant yeast
1/4 cup honey (or maple syrup if vegan)
1.5 tsp salt
1/4 cup butter, melted (or olive oil if vegan) + more for oiling
~4 cups whole wheat flour
1/2 cup chopped nuts (optional)
METHOD (I don’t use a stand mixer for bread because I love kneading, but you can certainly use one for ease):
-In a large mixing bowl, combine the flour and yeast. Add salt away from the yeast.
-Add butter/oil and honey. Start mixing together with your hand.
-Add water in a bit at a time, mixing the dough together with your hand after each addition. Use all the water. If the dough seems too runny, add a bit
more flour. The dough should be sticky and shaggy after incorporating all the water.
-Oil your surface and knead your dough until it has reached windowpane stage. The dough should be smooth, only slightly sticky, and it should bounce
back when pressed with a finger. This usually takes me about 10 minutes, and I usually have to add more oil to my surface 1-2 more times during the
kneading process.
-In a large clean bowl, oil it slightly and drop your dough in, covering it in the oil. The oil will prevent the dough from sticking to the bowl, which will
prevent it from rising. Cover it with a damp towel or plastic wrap to prevent a skin from forming. Let it proof until it has doubled in size, about 1.5 to 2
hours. I like to proof my doughs in glass bowls with plastic wrap so that I can see them rise!
-Once risen, flour your surface and knead your dough again to form it into the shape of a loaf. Add the nuts if you want to. If you don’t have a nonstick
loaf pan, grease it with melted butter or oil and spread it with a pastry brush or paper towel. Drop your loaf in, cover it with a damp cloth and let rise
again until it has come up over the top of the loaf tin, usually about 1 hour.
-Preheat your oven to 330F. Bake your loaf for 40-50 minutes. If you have an internal thermometer (HIGHLY RECOMMEND), the interior of your
bread should be at 190-200F when baked completely. Cool on a wire rack completely before slicing. Store in a bread box or a plastic grocery bag at
room temperature.
*If you only have dry active yeast, put it in a bowl with the water and honey. Stir to combine and let it bloom for about 5 minutes. The mixture should be
slightly cloudy, and the yeast should rise to the top and expand. If this does not happen, your yeast is unusable, and your bread won’t rise. Add the yeast
mixture to the other ingredients.
**If you use all-purpose flour, I’ve noticed that the dough tends to be wetter and stickier, making it hard to knead. So you might want to use flour during
your first knead instead of butter/oil. Also, baking bread during rainy weather can also make your dough wetter. Just use your best judgment and add
either more flour or butter/oil to your dough if you feel like it needs it.
***If you are using a stand mixer, use the dough hook. If you’re using instant yeast, turn the machine on while adding in the water to the other
ingredients. If you’re using dry active yeast, turn the machine on while you’re adding the yeast mixture to the other ingredients. Start slow and
gently raise the speed – I don’t usually go past medium speed because I get scared the mixer will topple over! It will probably only take about 5-7
minutes for the dough to come together and be “kneaded.”
****I have kneaded the dough with oil and with flour. Either method works, it just depends on how your dough feels after the first rise. I find that my
bread has a slightly better texture and better second rise when I use oil.